
Step 1. Install Boilerplate
As you probably know by now, when developing on PHP, Composer has become one of our best and must have allies for us. Therefore, I am assuming that you have it installed globally on your computer (if you haven't yet, I highly recommend you to do it).
For the sake of this article and to make things easier, I have created a new Yii 2 application boilerplate project and submitted to Packagist. This boilerplate has already configured everything we need on this tutorial but do not worry, I would still explain what was done and what is different from Yii 2 Application Template.
Having the boilerplate on Packagist, the way to start a new project is as easy as to use Composer's create-project command:
$ composer create-project --prefer-dist --stability=dev 2amigos/yii2-app-usuario-template my-app
$ cd my-app
If everything goes well, the command would have placed our boilerplate into the my-app folder (name that we have chosen for the example). But let's look on certain lines displayed when the command was executed:
...
> php -r "file_exists('.env') || copy('.env.example', '.env');"
...
> yii\composer\Installer::postCreateProject
chmod('runtime', 0777)...done.
chmod('public/assets', 0777)...done.
chmod('yii', 0755)...done.
> php yii post-install/generate-cookie-validation
Those lines mean that the composer create-project command did not simply started a project structure for us, the boilerplate contains specific instructions to:
- create a
.envenvironment file where global settings are written - create all required writable folders for Yii to work properly on runtime (thanks to Yii 2)
- and generate the
cookieValidationKeyfor us
How this boilerplate does it? To get the answer we need to look carefully on the composer.json file located on our root, specifically on its scripts section:
 "scripts": {
    "post-root-package-install": [
        "php -r \"file_exists('.env') || copy('.env.example', '.env');\""
    ],
    "post-create-project-cmd": [
        "yii\\composer\\Installer::postCreateProject",
        "php yii post-install/generate-cookie-validation"
    ],
    "start-test-server": [
        "php -r \"file_exists('public/index-test.php') || copy('tests/_support/index-test.php', 'public/index-test.php');\"",
        "php tests/bin/yii serve --docroot=@web"
    ],
    "stop-test-server": [
        "php -r \"unlink('public/index-test.php');\"",
        "kill $(lsof -ti tcp:8080)"
    ],
    "start-server": [
        "php yii serve --docroot=@web"
    ],
    "stop-server": [
        "kill $(lsof -ti tcp:8080)"
    ]
},
The scripts section is where we configure the scripts for composer. As you can see, in our composer.json we have configured not only two of Composer events but also four commands that you'll see how we are going to make use of them later. The post-create-project-cmd makes use of app\commands\PostInstallController class.
For further information regarding the configuration options of this Composer section, please visit its guide.Step 2. Configure Your Application
The boilerplate comes with the Yii 2 Usuario Module and Yii 2 Config Kit already configured as required packages in our composer.json file and also the required ConfigurationBuilder for the Application to run. I highly recommend you to check the code of src/App/Configuration/ConfigurationBuilder.php file, so you can see how useful the config kit is so you can build your very own application structure to work with Yii 2.
Database Configuration
Go to the .env file located at the root of your application and modify the following variables:
DATABASE_DSN_BASE = "mysql:host=localhost;port=3306"
DATABASE_DSN_DB = "yii2_app"
DATABASE_USER = "root"
DATABASE_PASSWORD = ""
DATABASE_TABLE_PREFIX = ""
DATABASE_CHARSET = "utf8"
To configure the database for your tests, you will have to do the same but on env.test file instead.
Step 3. AuthManager Configuration
Prior to execute the migrations of Yii 2 Usuario Module we have to add its Authorization Manager component so we can install the RBAC migrations. We want it to be configured on both console and web components:

Step 4. Run Migrations
Before we start, Yii 2 Usuario Module has its migration classes with namespaces. That means we should configure Application's controllerMap::migrate::migrationNamespaces attribute, a feature that was included since Yii 2 version 2.0.10.
If you do not wish to use them like we are going to explain right now, simply copy the classes ofvendor/2amigos/yii2-usuario/src/User/Migrationto theapp/migrationsfolder and remove its namespaceDa\User\Migration. After that simply execute$ ./yii migrate/upand will collect the migrations of that folder.
The configuration of it is within config/console/app.php:
// ...
'controllerMap' => [
    'migrate' => [
        'class' => \yii\console\controllers\MigrateController::class,
        'migrationNamespaces' => [
            'Da\User\Migration',
        ],
    ],
],
//...
Now when we run the migrations, we will see the following list:
$ ./yii migrate
Yii Migration Tool (based on Yii v2.0.12)

Creating migration history table "migration"...Done.
Total 4 new migrations to be applied:
    Da\User\Migration\m000000_000001_create_user_table
    Da\User\Migration\m000000_000002_create_profile_table
    Da\User\Migration\m000000_000003_create_social_account_table
    Da\User\Migration\m000000_000004_create_token_table

Apply the above migrations? (yes|no) [no]:
Obviously, we write yes and migrations will be applied. Next, we need to run Yii's RBAC migrations:
$ ./yii migrate --migrationPath=@yii/rbac/migrations
Step 5. Configure Usuario Module
Its time to configure Yii 2 Usuario Module. And we need to do it in two places:
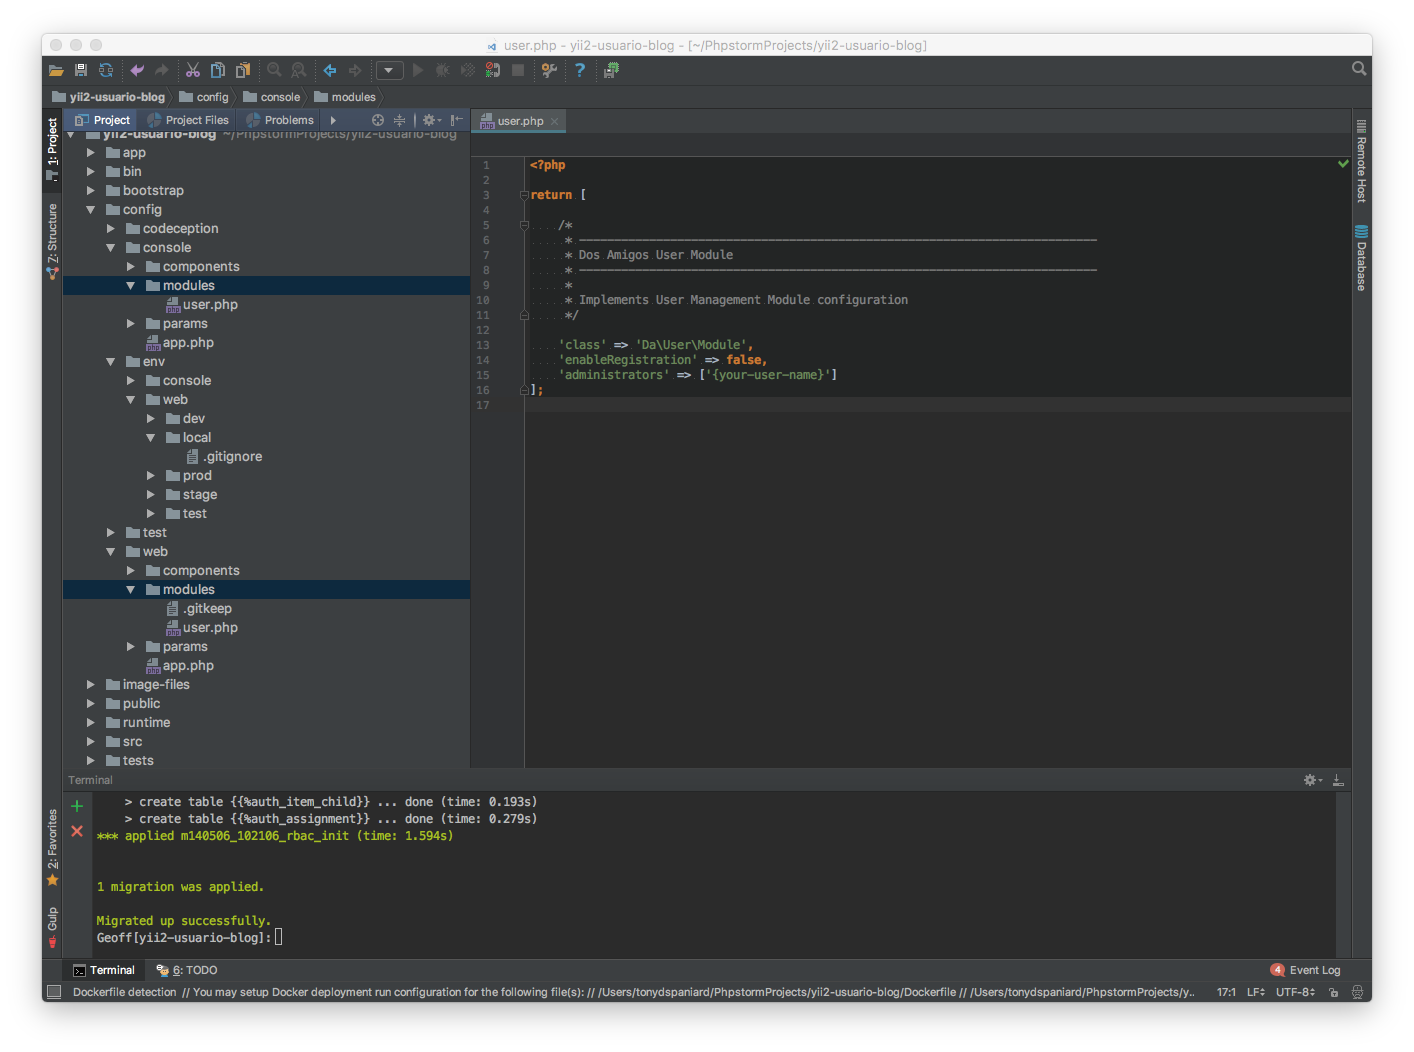
The configuration in config/console/modules/user.php is simple, we just need to configure the class to the module:
<?php

return [

    /*
    * --------------------------------------------------------------------------
    * Dos Amigos User Module
    * --------------------------------------------------------------------------
    *
    * Implements User Management Module configuration
    */

    'class' => 'Da\User\Module'
];
We do this so our Yii's console application can find the useful console commands that comes with the module and we need them on our next step.
The configuration of the module on config/web/components/authManager.php is different, here we should configure the module according to our needs. The module comes with a huge list of configuration options.
Step 6. Create Your Demo Admin User
Before we use the application, lets create our demo admin user so we can login to our backend. As said, the module comes with a list of handy console commands. We just need two but you should check them all out.
$  ./yii user/create demo@example.com username mypassword
$ ./yii user/confirm demo@example.com
Now, to allow this user to be one of the administrators, let's add the username selected (on the example above is username) to the config/web/modules/user.php file:
<?php

return [

    /*
    * --------------------------------------------------------------------------
    * Dos Amigos User Module
    * --------------------------------------------------------------------------
    *
    * Implements User Management Module configuration
    */

    'class' => 'Da\User\Module',
    'enableRegistration' => false,
    'administrators' => ['username'] // add the username of the test user here!
];
That configuration is good for local development purposes. Nevertheless, forproductionI highly recommend that you create your very own custom command that will install all theroles,permissionsand necessary initial users to run the application the first time.
Step 7. Running Your Application
Remember our composer scripts configuration? Well, time to use some of the commands. Run the following at the root of your application:
$ composer start-server
Now, visit http://localhost:8080 on your browser, you should see something like the following:
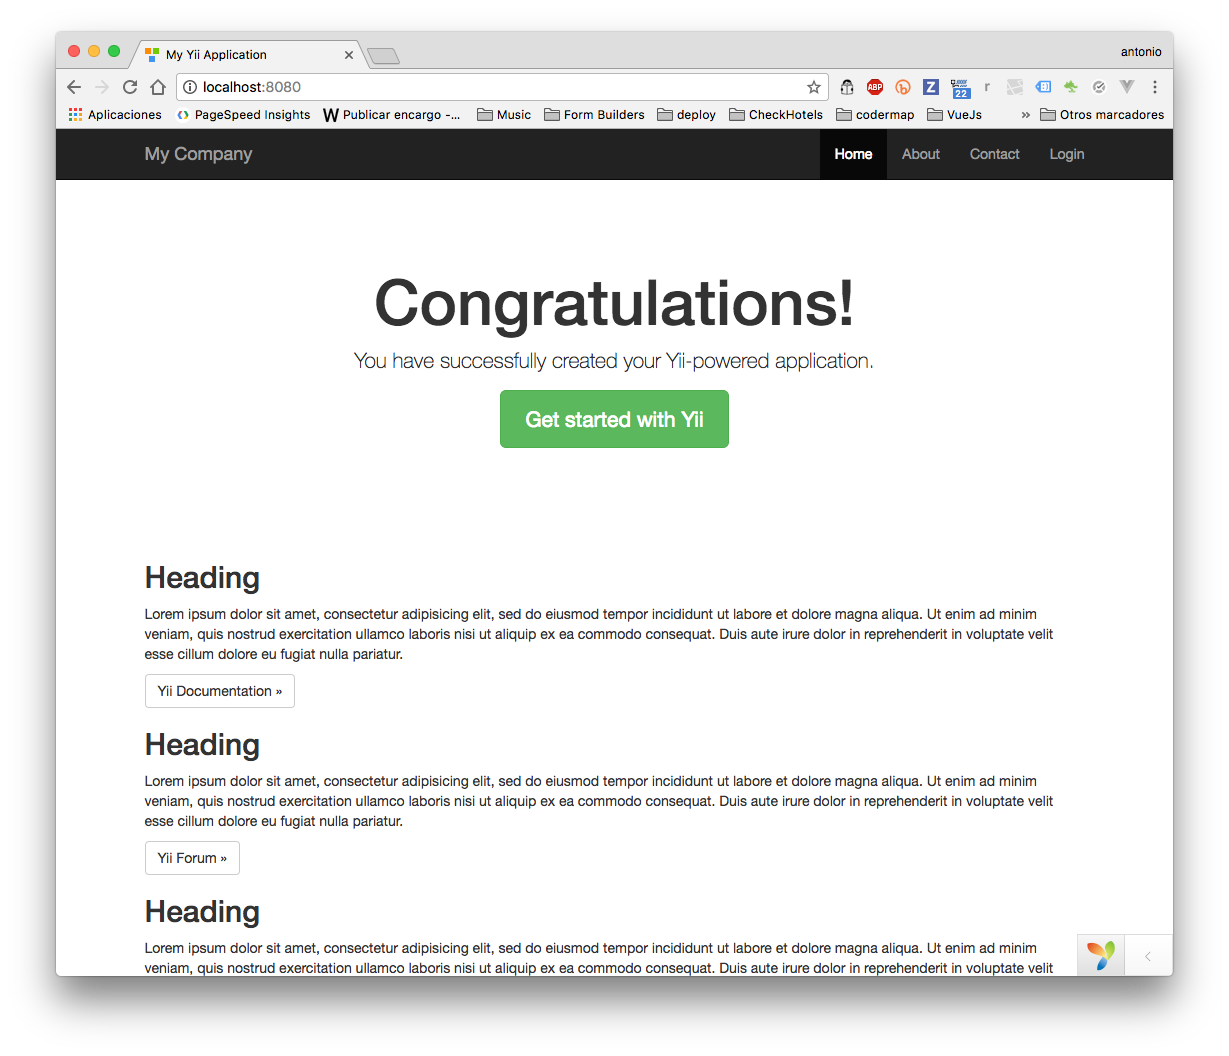
Go ahead, try to login with the previously created user. The user module has integrated all you need to manage your users, roles, permissions and integrates your login, recover, reset, register processes.
If you wish to stop running the server, open a new terminal window and type: $ composer stop-server.
References
2am.tech can help you build your next Yii2 framework project. Have a need or an idea? Get in touch and let’s talk.
